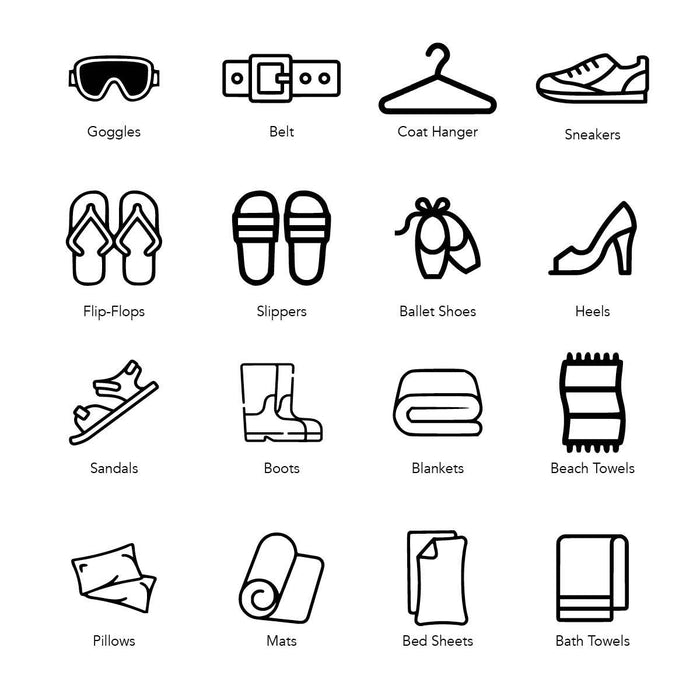


Bedroom Image Decal Labels
Price is per label. Adjust quantity below.
PLEASE USE THE QUANTITY FOR THE NUMBER OF LABELS YOU HAVE LISTED ABOVE.
EXAMPLE; 5 LABELS, QUANTITY = 5
Our bedroom storage image labels allows you to get creative and take personalisation to a whole new level.
All labels differ in size but maximum height is 9cm, maximum length is 11cm.
Price is per individual label.
The colour you select represents the colour of the font.
Labels MUST be used within two weeks of receiving them. The longer you leave the labels the harder it will be to apply.
PLEASE READ BEFORE PURCHASING
✅ What Our Labels Are
Our labels are vinyl decals.
This means:
- There is NO sticker backing
- Your design is cut out of vinyl, only the actual letters/shapes transfer
- They look like the design is painted on once applied.
❌ What Our Labels Are NOT
- They are NOT printed stickers
- The colour you choose is the colour of the vinyl itself. Ordering a black decal means you get black vinyl lettering, NOT a white label with black print
Where They Stick
Our vinyl decals stick to most smooth, clean surfaces:
✔ Glass
✔ Most plastic
✔ Mirrors
✔ Tiles
✔ Smooth/treated wood
✔ Walls (smooth paint)
They do NOT stick to:
✘ Raw/untreated wood
✘ Fabric
✘ Rough/uneven surfaces
✘ Textured walls
Responsibility
-
As all orders are customised to your requirements there are strictly no exchanges or refunds on custom labels
-
Instructions on how to apply vinyl will be sent with your order. Please read carefully before applying labels as we are not responsible for any labels that are applied incorrectly. Please take your time, vinyl can be tricky, especially in very hot or very cold conditions.
-
While we will try our best to correct spelling mistakes, we are not responsible for any typo errors you make while listing labels
Pro Tip
-
Try not to touch the sticky side too much. Natural oils from your fingers can make the vinyl less sticky.
About Custom Vinyl Labels
Each label is made to order and customised specifically for you. Once we design the labels, the machine cuts it, then the excess vinyl is weeded out of the decal by hand, covered with transfer tape that is used for you to install the decal onto your surface. As you can see a lengthy process goes into making your label so please ensure you order correctly. To remove vinyl labels you can add heat as vinyl melts or softens if exposed to high temperatures. Providing they are applied according to our instructions the labels are water resistant 24 hours after application. They are NOT dishwasher safe — hand wash only.
How to apply vinyl
Your order comes with simple step-by-step instructions
Follow them slowly and carefully as rushing can ruin the decal
- The surface you are applying the vinyl on must be completely clean and dry. Make sure the surface is free of dust, oil and dirt. Wipe surface with warm water only, do not use any chemicals, oils or acetones
- Make sure your hands are clean and dry before handling the label
- Using a flat tool (a credit card or similar) press down on the label you are about to use. This will ensure the label sticks to the clear transfer tape, making it easier to peel off the paper
- Remove backing paper from vinyl label, exposing the adhesive side. Be very careful and slow when doing this to make sure you do not tear the label in the process. If at any time the label does not want to come off the backing paper, push down the paper again in that spot, then rub label with your finger and try pulling off again. For more stubborn labels, try lifting the edge of the label with your fingernail
- Once backing paper is removed, arrange label on desired surface from centre of the letters first and work your way out. Press down firmly with a flat tool over entire label to affix
- It is suggested to leave the clear transfer tape on for 24hrs before peeling it off however, if you feel it is coming off easily you can start peeling away the transfer tape immediately.
- Peel away transfer tape slowly and gently at an angle starting from the top and pulling down. If the letters of your label start to lift with the transfer sheet, lay it back down and press on the area again until label is affixed on the surface